
Table of Contents:
- What is an eSIM and why transfer it?
- Steps to transfer eSIM from one phone to another
- Deactivate eSIM on the old phone
- Verify new phone compatibility
- Gather eSIM details and activation information
- Contact carrier to confirm eSIM transfer support
- Initiate the eSIM transfer process
- Scan QR code or manually add eSIM
- Verify eSIM functionality on the new device
- How to transfer eSIM between iPhones
- How to transfer eSIM between Android devices
- Common issues and tips for a successful eSIM transfer
- Avoid clicking on delete eSIM option
- Ensure consent call is completed
- Restore cellular service after transfer
What is an eSIM and why transfer it?
An eSIM, or embedded SIM, is a digital version of the traditional SIM card. It allows users to set up a mobile network plan with a provider without the hassle of inserting a physical card. When upgrading to a new phone, transferring your eSIM ensures uninterrupted service and number retention—ideal for frequent device switchers.
Please note that Amigo eSIM does not support eSIM transfers.
Steps to transfer eSIM from one phone to another

Transferring an eSIM requires a few key steps, including deactivating it on the old device, checking compatibility, and activating it on the new phone. Follow the following steps to ensure a smooth transition.
1. Deactivate eSIM on the old phone
To disable the eSIM on your previous phone, follow these steps:
- Navigate to the Settings,
- Choose "Cellular" or "Mobile Data",
- Locate the specific eSIM you want to deactivate,
- Select the option to temporarily disable or deactivate it, ensuring that the eSIM profile remains available until your new device is successfully activated.
2. Verify new phone compatibility
To ensure your new phone is compatible with an eSIM, follow these steps:
- Check your phone’s specifications to confirm eSIM compatibility,
- ensure your carrier supports eSIM on your new model,
- contact your carrier to confirm transfer eligibility.
3. Gather eSIM details and activation information
Before beginning the eSIM transfer, ensure you have gathered all essential details and activation information from your carrier. You'll require the eSIM activation code or QR code, as well as any additional data they provide. Being prepared with these items will facilitate a seamless transition to your new device, helping to prevent any delays or issues during the transfer and activation process.
4. Contact carrier to confirm eSIM transfer support
Reach out to your carrier to verify if they support eSIM transfers. They can provide specific guidance and inform you of any requirements or restrictions. Be sure to have your account information ready to streamline the conversation.
5. Initiate the eSIM transfer process
You might have to deactivate the eSIM on your current device and get the new one ready for activation. This usually requires a QR code or another method outlined by your carrier's guidelines.
6. Scan QR code or manually add eSIM

To set up the eSIM on your new phone, you can either scan a QR code or input the details manually.
If scanning is your choice, begin by opening your phone's settings:
- Navigate to Cellular (or Mobile Data) > Add Cellular Plan,
- choose Scan QR Code,
- follow on-screen instructions to complete activation.
On the other hand, if you opt for a manual setup, follow the same steps:
- Go to settings,
- navigate to Cellular (or Mobile Data) > Add Cellular Plan,
- enter the details manually,
- follow on-screen instructions to complete activation.
Whichever method you choose will successfully activate your eSIM and connect it to your new device.
7. Activate eSIM on the new phone
To configure the eSIM on your new phone:
- Open Settings > Cellular (or Mobile Data),
- select Activate eSIM and follow the setup prompts.
This step is crucial for seamless functionality. It allows you to access mobile data effortlessly and make calls in all the supported countries in the plan you purchased.
Should you encounter any difficulties during activation, reach out to your carrier for assistance.
8. Verify eSIM functionality on the new device
To ensure your eSIM functions properly on your new device, start by verifying whether it's connected to a network.
Test this by:
- making a call (in the supported countries of your purchased plan)
- sending a text (in the supported countries of your purchased plan)
- accessing mobile data.
Please note that Amigo eSIM does not support eSIM transfers.
How to transfer eSIM between iPhones

To transfer an eSIM between iPhones, start by ensuring both devices are updated to the latest version of iOS for optimal compatibility and security.
On your old iPhone:
Begin by deactivating the eSIM on your current phone:
- Navigate to "Settings"
- Choose "Cellular" or "Mobile Data," and remove the existing eSIM profile.
On your new iPhone:
- Head to "Settings"
- Tap on "Cellular."
- Select "Set up Cellular" to begin the transfer.
You have two options here:
Transferring via Bluetooth or using a QR code provided by your carrier.
For a Bluetooth transfer:
- Enable Bluetooth on both phones
- Navigate to the “Setting”
- Tap on "Cellular."
- Select "Set Up Cellular"
- Then “Other Options”
- Choose “Transfer From Nearby iPhone,”
- Go back to your old iPhone and tap “Continue” on the popup. Enter the verification number that appears on your new iPhone
- Check the details on your new iPhone and complete the transfer.
- Finalize and confirm on the old iPhone
You will see “Connecting to Network” loading. The time of this may vary depending on the carrier and not all of them support eSIM transfers.
Your transfer will be completed when you see the “Cellular Setup Complete” message appear on the screen of your new iPhone.
For transferring with a QR code:
- Obtain the QR code from your carrier
- Delete any existing eSIM profiles in Settings under "Cellular" on your old iPhone
- On your new device, go to Settings > Cellular > Set Up Cellular
- Then “Other Options”
- Choose “Use QR Code”
- Use your camera to scan the QR code
After completing either method, activate your eSIM by following additional prompts until the setup is complete.
Your transfer will be completed when you see the “Cellular Setup Complete” message appear on the screen of your new iPhone.
Once again, please note that this time may vary depending on the carrier, and not all carriers support eSIM transfers.
How to transfer eSIM between Android devices
The most efficient way to transfer an eSIM between Android devices is by leveraging Google's built-in eSIM transfer tool.
This tool, along with methods to convert a physical SIM to an eSIM, streamlines the process, allowing you to securely move your eSIM to your new device directly through your settings—no physical cards, no complicated steps.
However, availability depends on your device model. It’s fully optimized for Google Pixel phones and select Samsung Galaxy models, including the S24 series, but may not be supported on all Android devices. Check your device settings to see if this option is available.
To effortlessly transfer an eSIM between Android phones, here's what you need to do:
- deactivate on old device: begin by disabling the eSIM on your current phone. Navigate to "Settings," select "Cellular" or "Mobile Data," and remove the eSIM profile,
- check compatibility: confirm that your new Android phone supports eSIM by checking both the device specs and your carrier's network compatibility,
- carrier communication: reach out to your carrier to notify them about the switch and ensure they allow transferring eSIMs between devices,
- initiate transfer process: if your device supports it, utilize the available eSIM transfer tool found in your settings under “Network & Internet” or “Connections.” Note that this feature is typically available on devices such as Google Pixel and select models; if not available, please consult your carrier’s instructions for alternative activation methods. Then, proceed with 'Add eSIM' and choose 'Transfer SIM from another device,”
- use QR code or manual entry: on the new phone, head to "Settings," then "Cellular" or "Mobile Data." Tap on “Add Cellular Plan,” then either scan a QR code from your carrier or input activation details manually,
- activate on new device: follow any prompts to activate the eSIM profile, enabling calls and mobile data usage seamlessly,
- verify functionality: test everything by making a call, sending a text, or using mobile data to confirm all is functioning correctly.
On your new Android device:
- Go to “Settings”
- Tap “Connections” or “Network and Internet” - the naming will vary based on your device’s manufacturer
- Go to “SIM Manager” or “Cellular Data” - the naming will vary based on your device’s manufacturer
- Then “Transfer SIM from another device”
Get your old Android device:
- Place it next to your new Android device
Go back to your new Android device
- Tap “Transfer”
All done! The activation time of your eSIM depends on your carrier and not all of them support eSIM transfers.
Common issues and tips for a successful eSIM transfer
Transferring an eSIM can occasionally present challenges, but understanding common pitfalls and solutions ensures a smooth transition. Below are some key issues that you should always note before transferring an eSIMs. These practical tips will help you troubleshoot problems and maintain uninterrupted service on your new device.
Avoid clicking on delete eSIM option
When moving your eSIM to a new phone, avoid deleting it from your old device too quickly. Prematurely removing it could lead to service disruptions and complicate the transition. Make sure the eSIM is completely set up on the new phone before you remove it from the previous one.
Ensure consent call is completed
Don't forget to make any necessary consent calls with your carrier when you're transferring your eSIM. These calls are crucial for confirming your identity and authorizing the transfer, ensuring a seamless process. Skipping this step could lead to delays or even prevent your eSIM from activating on the new device.
Restore cellular service after transfer
Once you've transferred your eSIM, confirm your new device is connected to the cellular network. To do this, try making a call or sending a text message.
Posts you might also like
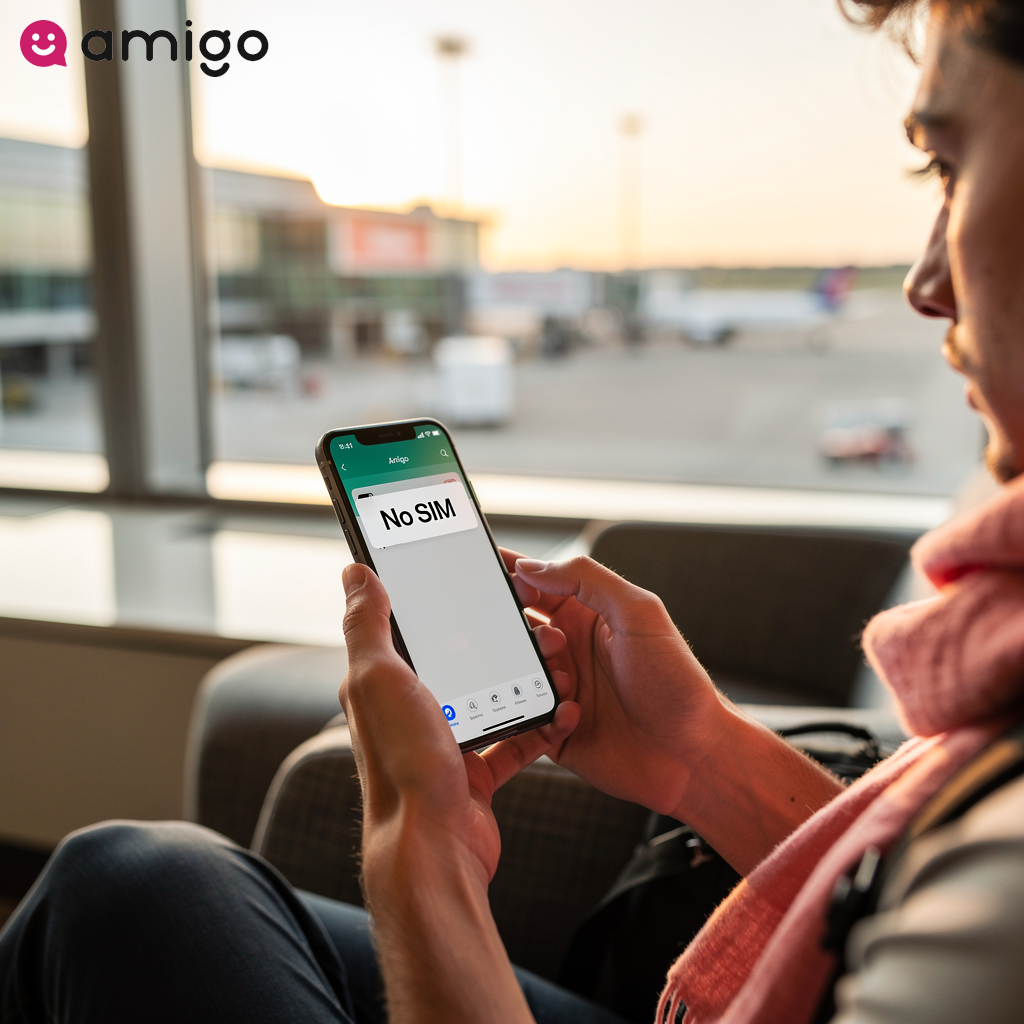
What does it mean when your iPhone says no SIM and how to fix it? - 2026 Guide
29.04.2026
When your iPhone displays a "No SIM" alert, it means the device can't detect a SIM card, leaving you...
11m 0s read Read More
What is pocket WiFi in Japan and is it worth renting?
29.04.2026
Pocket WiFi has long been a popular connectivity choice for visitors to Japan, offering reliable int...
11m 24s read Read More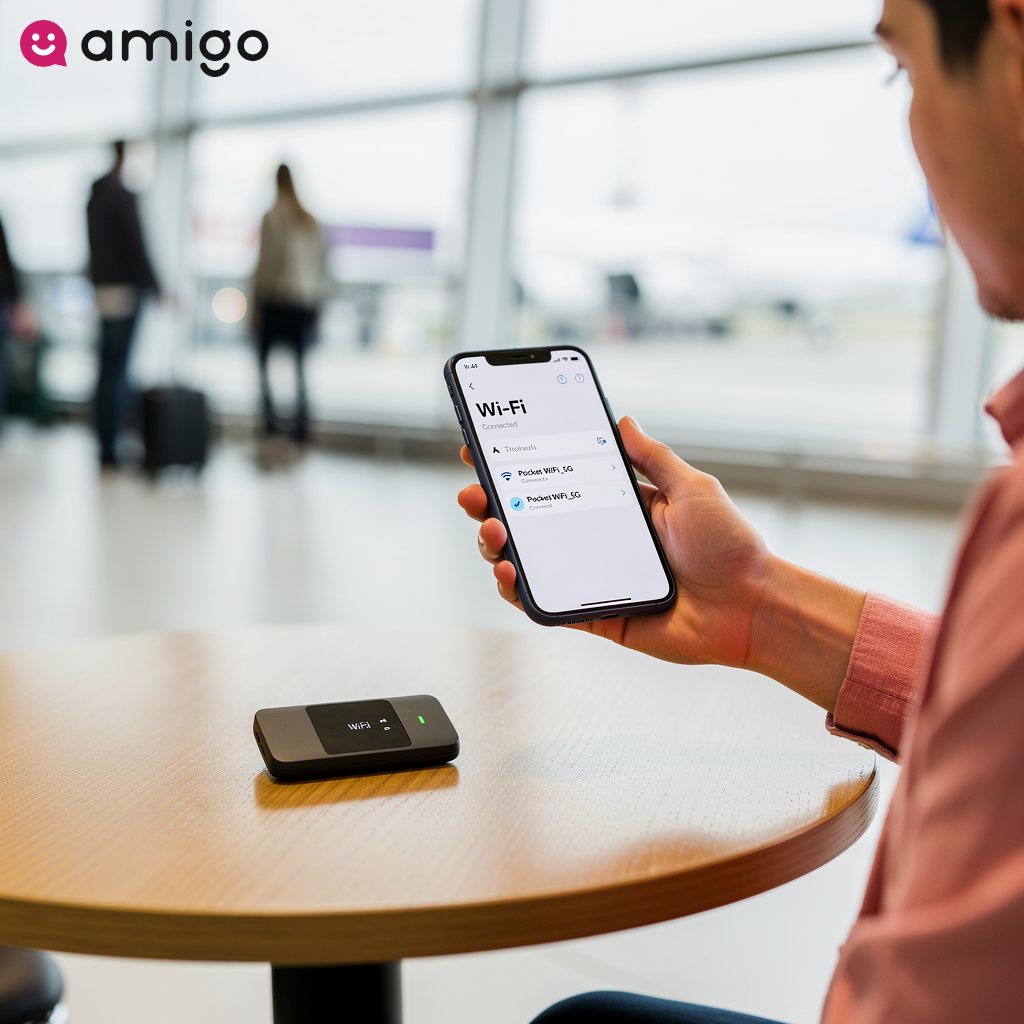
What is pocket WiFi and how does it work?
29.04.2026
A pocket WiFi is a small portable device that connects to a cellular network and creates a personal...
10m 27s read Read More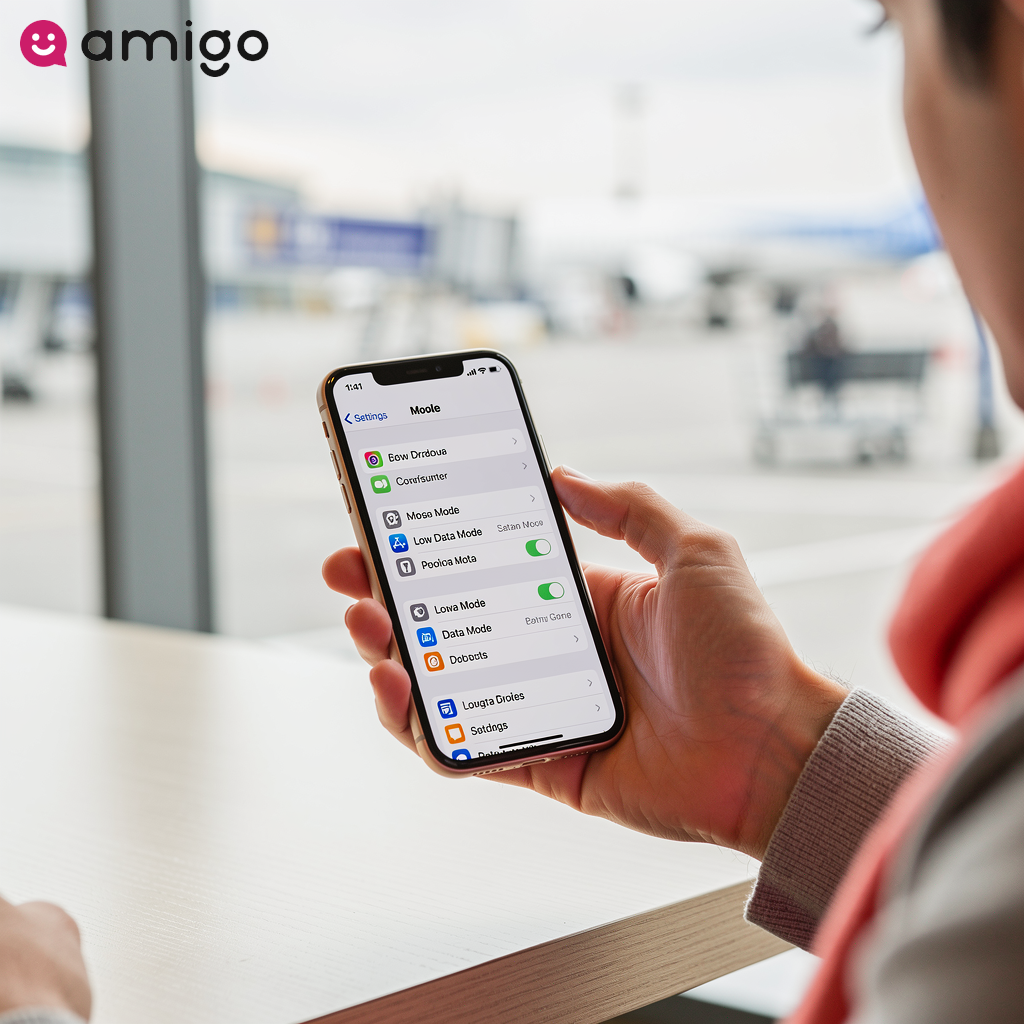
What is low data mode on iPhone and should you turn it on?
29.04.2026
Low data mode is a built-in iPhone feature designed to reduce your mobile data usage by pausing back...
9m 21s read Read More
How to change your hotspot name on iPhone and Android devices? - 2026 Guide
29.04.2026
Your mobile hotspot name is what others see when connecting to your shared internet, and changing it...
8m 9s read Read More
What is an IMEI number and how to find it on your phone?
29.04.2026
Every mobile phone has a unique IMEI number that acts as its digital fingerprint, essential for secu...
12m 10s read Read More